 Bellingham
 Building New in Puget? Windows Are Where New Builds Go Wrong Most Often
Puget sits close enough to the water and the marine air moving off Bellingham Bay that new-construction window work here isn't quite the same job as it is twenty miles inland. We've reworked enough window openings on homes that were only a few years old to know the pattern: the windows themselves were fine, but the flashing, the sequencing with the water-resistive barrier, or the sill pan detailing wasn't built for what Whatcom County actually throws at a house. On a remodel you're fixing an existing wall. On new construction, you get one shot to build the opening right before siding, trim, and drywall bury it for good.
This page is specifically about installing windows during new construction in the Puget area — not replacement windows in an existing wall, which is a different scope with different tradeoffs. If you're framing a new home or an addition here, this is what we look at and why.
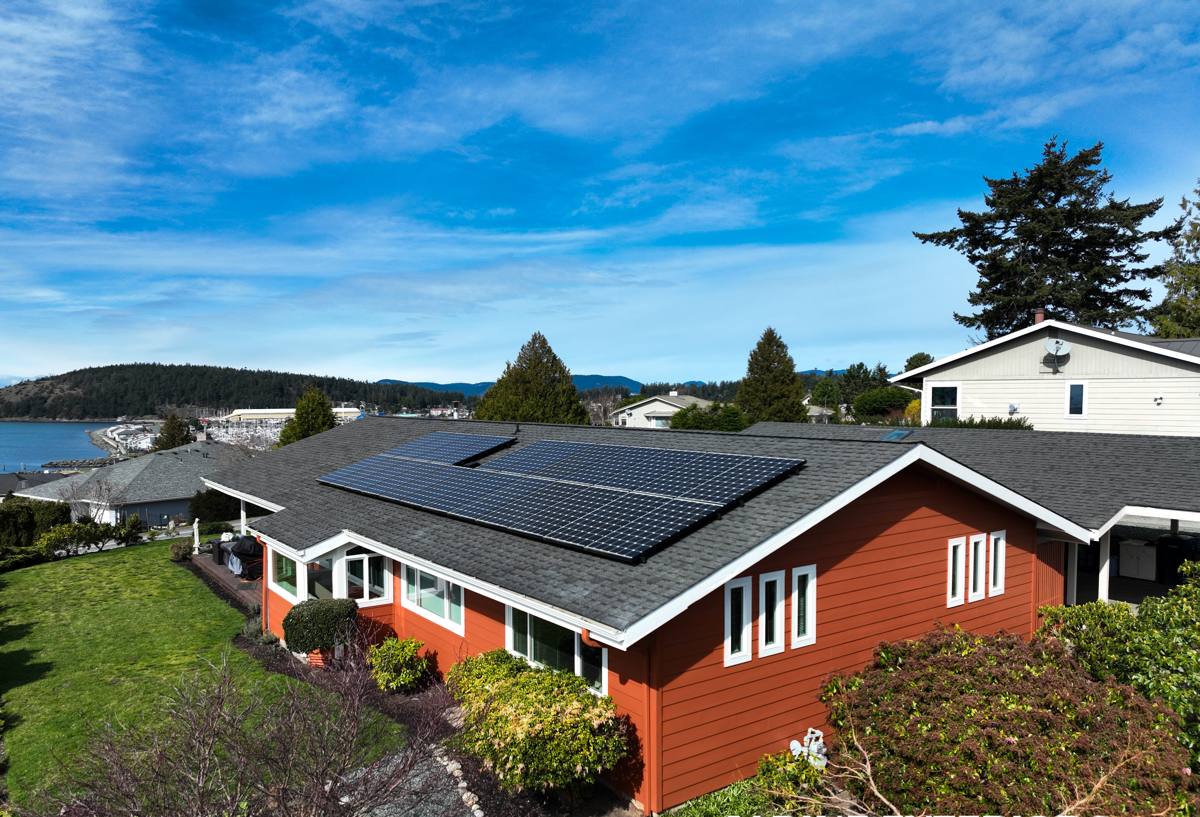
What Puget's Climate Actually Does to a Window Opening
Three things matter most for new-construction window work in this part of Whatcom County:
- Salt-influenced marine air accelerates corrosion on fasteners, flashing tape adhesives, and lower-grade hardware faster than it would inland — this matters most for sill flashing metal and screws that end up hidden in the wall assembly.
- Driving, wind-driven rain means water isn't just falling on the window, it's being pushed sideways and upward into any gap in the weather barrier at the rough opening. A window that's watertight in a still rain can still leak in a Puget wind event if the flashing sequence is wrong.
- A long moss and damp season, roughly fall through spring, keeps sheathing and framing at elevated moisture levels for months at a time. Any window opening that traps water instead of shedding it will show that as rot at the sill or king studs well before it shows as a visible leak indoors.
None of this means Puget needs exotic materials. It means the ordinary things — sill pans, flashing laps, sealant joints — have to be done in the correct order, every time, with no shortcuts on the openings that face west or south into the weather.
Why "the window is good" isn't the same as "the opening is good"
We get asked a fair amount whether a particular window brand or line is "worth it" for this area. Almost always the window itself isn't the failure point. Manufactured windows sold today, across a wide range of price points, are built to hold up to Pacific Northwest weather when installed to spec. What fails is the opening around the window — the parts a framing crew or a rushed installer never see again once trim goes up. That's the part we control.
What a Correct New-Construction Window Installation Involves
For a Puget-area build, our installation follows this sequence on every opening, not just the exposed ones:
- Rough opening check. Confirm the opening is square, plumb, and sized correctly with proper shim space — undersized or racked openings are the single most common cause of installer-blamed "window leaks" that are actually framing issues.
- Sill pan flashing. A sloped, back-dammed sill pan under every window, not just a strip of tape. This is the detail that catches the water that gets past everything else and directs it back outside instead of into the wall cavity.
- Weather-resistive barrier integration. The WRB (housewrap or equivalent) is lapped over the flashing at the head and integrated at the jambs and sill in the correct shingle-style order — water always has to be directed down and out, never trapped behind a lap.
- Window set and fastening. Set to manufacturer nailing fin or flange instructions, shimmed for even reveal, and fastened per spec — over-driven or under-driven fasteners are a quiet source of long-term air and water infiltration.
- Head flashing. Installed last over the top flange, lapped over the WRB above it, so water shedding down the wall runs over the flashing and never behind it.
- Sealant joints. Backer rod and sealant at the exterior trim-to-window joint where specified, using a sealant compatible with both the window's cladding and the trim material.
- Interior air-seal. Low-expansion foam or backer rod and sealant around the interior perimeter to control air leakage and condensation risk — often skipped, and a real comfort and energy issue in a house this damp for this much of the year.
Checklist: What to Confirm Before Siding Goes On
- Every sill pan is sloped and back-dammed, not flat tape
- Flashing laps run shingle-style, top over bottom, everywhere
- No exposed nailing flange or fastener heads left uncovered by the WRB
- Reveal is consistent around each window (even shim lines, no racking)
- Sealant joints are continuous with no gaps at corners
- Weep paths at the sill are clear, not sealed shut by mistake
- Manufacturer's installation instructions were followed for that specific window line (fin-mount vs. flush-fin vs. block-frame all flash differently)
Why Puget's Building Stock Makes This Especially Worth Getting Right
Puget is close enough to the water that homes here take on more direct exposure to wind-driven rain off the bay than lots further inland in Whatcom County. New construction in this pocket also tends to sit on lots with less mature landscaping and windbreak than older, established Bellingham neighborhoods, which means walls face weather more directly in the first years after a build. That's exactly the window when a flashing mistake shows up — usually two to four years in, once enough wet seasons have passed for hidden moisture to do damage that's visible from inside.
New-Construction Windows vs. Replacement Windows: Different Jobs
| Factor | New Construction | Replacement (Existing Wall) |
|---|---|---|
| Flashing access | Full access to sheathing and WRB before siding | Limited — often working around existing siding and trim |
| Sill pan installation | Built from scratch, ideal conditions | Retrofit, sometimes constrained by existing framing |
| Window style options | Nail-fin or flush-fin, full range | Often pocket or block-frame to avoid disturbing siding |
| Timing sensitivity | Must coordinate with framing and siding schedule | Standalone, scheduled independently |
| Risk of hidden moisture damage | Low if flashed correctly the first time | Depends on condition of wall behind old window |
If your Puget project is new construction, this is your one window of opportunity — literally — to get every layer right before it's covered. There's no "we'll catch it on the next remodel" for a house that hasn't been built yet.
What Drives Cost on a New-Construction Window Package
| Cost Factor | Why It Matters |
|---|---|
| Number and size of openings | More openings and larger units mean more flashing labor and material, not just window unit cost |
| Window line and glazing package | Double vs. triple pane, low-E coatings, and frame material (vinyl, fiberglass, wood-clad) all shift unit pricing |
| Exposure of each elevation | West- and south-facing openings toward driving rain often get upgraded flashing details, adding labor |
| Access and building height | Second-story and high openings need staging or lift time |
| Coordination with framing schedule | Installing on a tight framing timeline versus a rushed one affects labor efficiency |
We don't quote a per-window number without seeing the plans and elevations, because a house with eight small openings and one with three oversized picture windows can land in very different places even at the same total square footage of glass. What we can tell you honestly: budgeting for correct flashing and sill pan work up front is far cheaper than opening the wall to fix rot a few years later.
Our Process for Puget New-Construction Projects
We work directly with the framing and general contractor timeline rather than trying to install windows on our own schedule disconnected from the rest of the build. In practice that looks like:
- Reviewing plans and window schedule before framing is complete, so any opening sizing issues get caught early
- Confirming WRB installation and inspecting rough openings before we set a single window
- Installing and flashing in the sequence above, elevation by elevation
- Photographing flashing details before they're covered by siding, so there's a record of what's behind the wall
- Final walk-through on reveals, operation, and sealant before we sign off
We're a local Bellingham crew that works this area regularly, which means we already know which elevations in Puget take the worst of the wind-driven rain and where we tend to add extra attention without being asked. That's not a substitute for good workmanship on every opening — it's just fewer surprises for you during the build.
Get an Estimate
If you're framing new construction in Puget or planning a build in that area, we're glad to walk the plans with you, talk through window selection for this specific site and exposure, and give you a straightforward, no-pressure estimate. There's a form below — reach out and we'll get back to you.