 Bellingham
 Building New on South Hill: Windows Are Where New-Construction Jobs Go Wrong
South Hill sits up above the flats of Bellingham, close enough to the water to catch the salt-laden wind off Bellingham Bay and exposed enough on its slopes to take driving rain straight-on during a southwest blow. If you're framing a new home or a major addition here, the window openings are one of the few places in the whole build where a small mistake becomes a decade-long problem. A missed flashing lap or a stapled-through sill pan doesn't show up at the final walkthrough. It shows up two or three winters later, usually as a stain on drywall below a window, or worse, as rot inside the wall cavity that nobody sees until a remodel tears the wall open.
New construction is actually the easiest time to get this right — the wall is open, there's no existing siding to work around, and the window opening can be built to spec instead of patched. That's the whole argument for hiring a crew that treats window installation as its own trade step, not a five-minute task tucked into the framing or siding schedule.
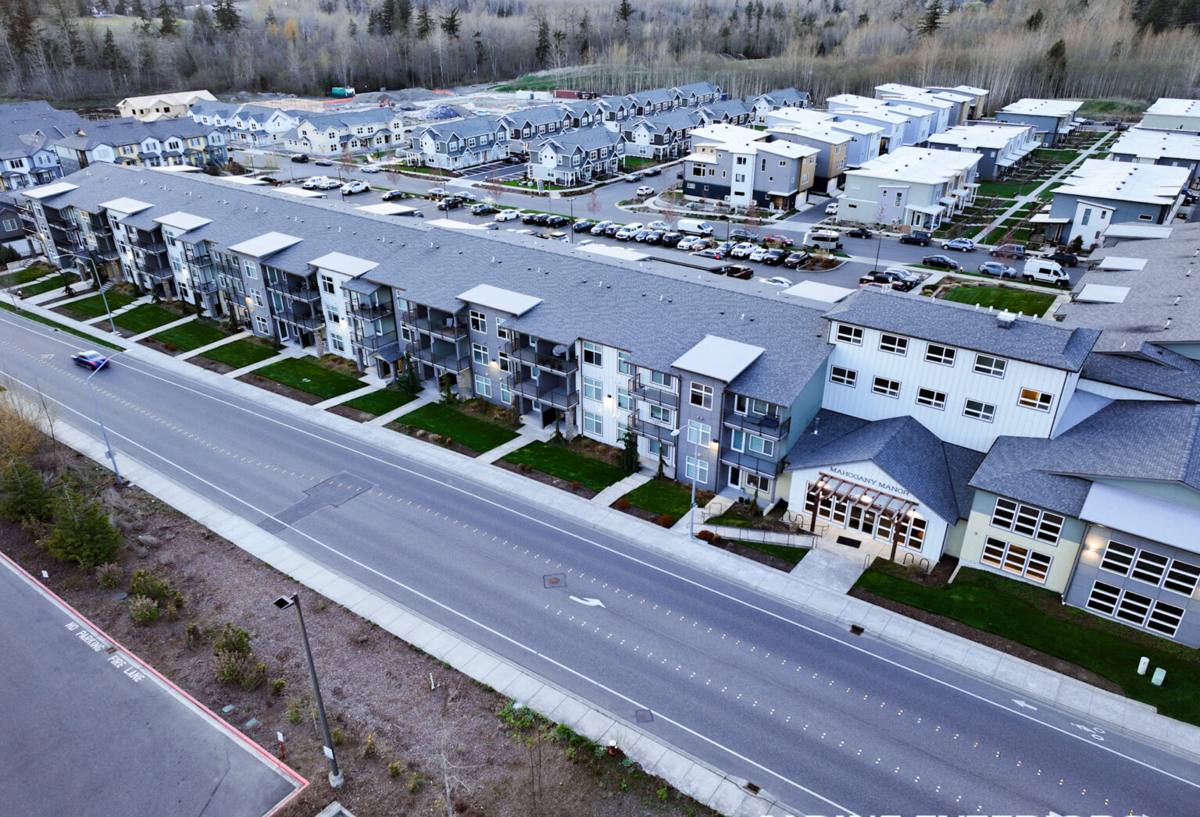
What Whatcom County's Climate Actually Does to a New Window Opening
Three things matter most for a South Hill build, and they're not the same three things that matter in a drier inland climate:
- Wind-driven rain. Bellingham doesn't get the heaviest rainfall totals in the state, but the combination of wind off the bay and long, saturating rain events pushes water sideways into wall assemblies, not just straight down. A window that's only flashed to shed water vertically will leak in a real storm.
- Salt air. Homes closer to the water see faster corrosion on exposed fasteners, hinges, and unprotected metal flashing. It's not dramatic, but it's steady — untreated or mismatched metals will show pitting and staining years before they should.
- Moss and constant moisture. Whatcom County's moss season runs most of the year in shaded, north-facing spots. Moss holds water against surfaces longer than open sun-exposed areas, which means any sill or trim detail that traps moisture instead of shedding it will stay wet longer here than it would somewhere drier.
None of this means South Hill needs exotic materials. It means the installation details — sill pans, flashing sequence, sealant choice, and drainage path — have to be done correctly every single time, because the climate won't forgive shortcuts the way a drier region might.
Why "It's New Construction, It'll Be Fine" Is the Wrong Assumption
New homes leak too. A window can be installed brand new, look perfect from the street, and still be wrong on the inside of the wall — no sill pan, house wrap lapped backwards over the flange, or caulk used in place of proper flashing tape. New construction gives you a clean opening to work with, but it doesn't install itself correctly. The advantage of new construction is that these details are cheap and easy to get right while the wall is open. Fixing the same mistake after siding and drywall are on costs many times more.
What a Correct New-Construction Window Installation Involves
There's a sequence to this, and skipping steps or doing them out of order is where most window failures start:
- Rough opening check. Confirm the opening is square, level, and sized correctly to the window unit's actual dimensions — not just the plan dimensions.
- Sill pan flashing. A sloped or pre-formed sill pan goes in first, so any water that gets past the window in the future drains back out instead of pooling on the sill and soaking into the framing.
- Weather-resistive barrier integration. The house wrap or building paper has to be cut and lapped in the correct shingle-style order — each layer overlapping the one below it — so water is always directed outward and down, never funneled inward.
- Window placement and fastening. The unit is set into the opening, checked for square and level again, and fastened per the manufacturer's schedule — not "close enough."
- Flashing the head, jambs, and nailing fin. Flashing tape goes over the fin at the sides, and last at the head, so the shingle-lap order sheds water down and out rather than trapping it behind the flashing.
- Sealant at the right joints only. Sealant is a backup layer, not the primary water barrier — over-caulking (especially sealing the bottom of the window solid) can trap water inside the wall instead of letting it drain out.
- Interior air sealing and insulation. The gap between the window frame and rough opening gets sealed for air and insulated, which matters for both energy performance and condensation control.
Every one of these steps takes minutes. Skipping or rushing any one of them is what turns into a callback years down the road.
Our Process for South Hill New-Construction Jobs
Because we already work in this neighborhood and across Bellingham, we're not learning the local exposure conditions on your job — we already know which elevations on South Hill take the worst of the wind-driven rain and which builds need extra attention at the flashing details because of tree cover and shaded, slower-drying sides of the house.
How we work with your builder or GA
On a new build, we coordinate directly with the framer and the siding or stucco crew so window installation happens at the right point in the sequence — after the weather-resistive barrier is on, before siding closes the wall up. We don't want to be the trade that holds up the schedule, but we also won't install a window into an opening that isn't ready, because that's exactly how sill pan and flashing mistakes happen.
What we check before we call it done
- Every sill pan is sloped and continuous, with no gaps at the corners
- Flashing tape laps are shingled correctly at every window, not just the ones easiest to reach
- Fasteners and flashing metals are compatible materials, to avoid galvanic corrosion issues that show up faster in our salt-air exposure
- Sealant is used only where it belongs — never as a substitute for proper flashing
- Window operation (open, close, lock) is tested on every unit before we leave
- Interior gaps are sealed and insulated per code, not left as an afterthought for drywall to cover up
Choosing Windows for a South Hill Build
We install a range of window lines and don't push one brand as the only option — the right choice depends on your budget, the home's design, and how exposed the elevation is. That said, a few honest trade-offs are worth knowing before you spec windows for a coastal-influenced, high-moisture climate like ours:
| Factor | What to consider on South Hill |
|---|---|
| Frame material | Vinyl and fiberglass both hold up well against salt air and moisture; wood frames need consistent maintenance (repainting, sealing) to avoid moisture damage over time |
| Cladding/exterior finish | Factory-finished exterior cladding reduces long-term maintenance versus site-finished wood exteriors, especially on shaded, slower-drying elevations |
| Glazing | Double or triple-pane low-E glass helps with both energy performance and reducing interior condensation during our damp winters |
| Hardware and fasteners | Corrosion-resistant hardware matters more here than in a drier inland climate; cheap hardware shows pitting and sticking sooner near the water |
| Warranty structure | Ask specifically what's covered on seal failure and frame defects, and for how long — this varies a lot between manufacturers and matters more in a wet climate |
We'll walk through these trade-offs with you specifically for your elevation and budget rather than defaulting to a single "best" answer — the right window for a shaded, wind-exposed South Hill lot isn't always the right window for a sunnier, sheltered lot two streets over.
What This Typically Costs
New-construction window installation pricing depends heavily on window count, size, glazing package, and how many elevations are exposed to wind-driven rain versus sheltered ones. Broadly, budget for the cost of the window units themselves plus a separate, meaningful line item for correct flashing, sill pan work, and installation labor — trying to save money by rushing the installation labor is the single most common way homeowners end up paying for water damage repair later. We'll give you a clear, itemized quote once we've seen your plans or framed opening, not a vague per-window estimate that hides what's actually being done.
Why a Local Crew Matters More Than It Sounds Like It Should
Window installation instructions on paper look the same everywhere. What's different on South Hill is how the wall assembly actually gets tested by weather after the crew leaves — the direction the wind-driven rain hits a given elevation, how long moss-prone, shaded sides stay wet after a storm, and how quickly salt air can start working on exposed hardware. A crew that's done this work across Bellingham and Whatcom County has already seen where these details fail on real homes in this exact exposure, not just in a training manual. That's the difference between an installation that looks right at the final walkthrough and one that's still dry inside the wall five winters from now.
A Straightforward Checklist Before You Hire Anyone for This Work
- Ask specifically how they handle sill pan flashing — a real answer describes a sloped pan, not just "we caulk everything"
- Ask what weather-resistive barrier lapping sequence they follow and why
- Confirm they'll coordinate directly with your framer or GC on schedule, not just show up whenever
- Ask which window lines they've installed most in this climate and why they'd recommend one for your specific elevation
- Get an itemized quote that separates window unit cost from installation labor
- Ask what they do differently, if anything, on a shaded or wind-exposed elevation versus a sheltered one
If your South Hill build has window openings coming up — whether you're framing now or a few weeks out — we're happy to take a look at the plans or the opening itself and give you a straightforward, no-pressure estimate. There's a form below to get that started.