 Bellingham
 Siding Repair in Lynden: Built for Whatcom County Weather
Lynden sits close enough to the water and the foothills that its homes take a particular kind of beating: salt-tinged air drifting in off Bellingham Bay and the Strait, driving rain that comes in sideways for days at a stretch, and a moss season that runs longer here than it does almost anywhere else in the state. None of that is dramatic on any given day. It's the accumulation — years of damp cycles, freeze-thaw swings, and shaded north walls that never quite dry out — that turns a small siding problem into a big one if it goes unaddressed.
This page is about one thing: repairing siding on Lynden homes, done right, by a crew that works this area regularly and knows what Whatcom County weather does to exterior materials over time. Not a general "we fix siding everywhere" pitch — the specifics of what fails here, why it fails, and what a correct repair actually requires.
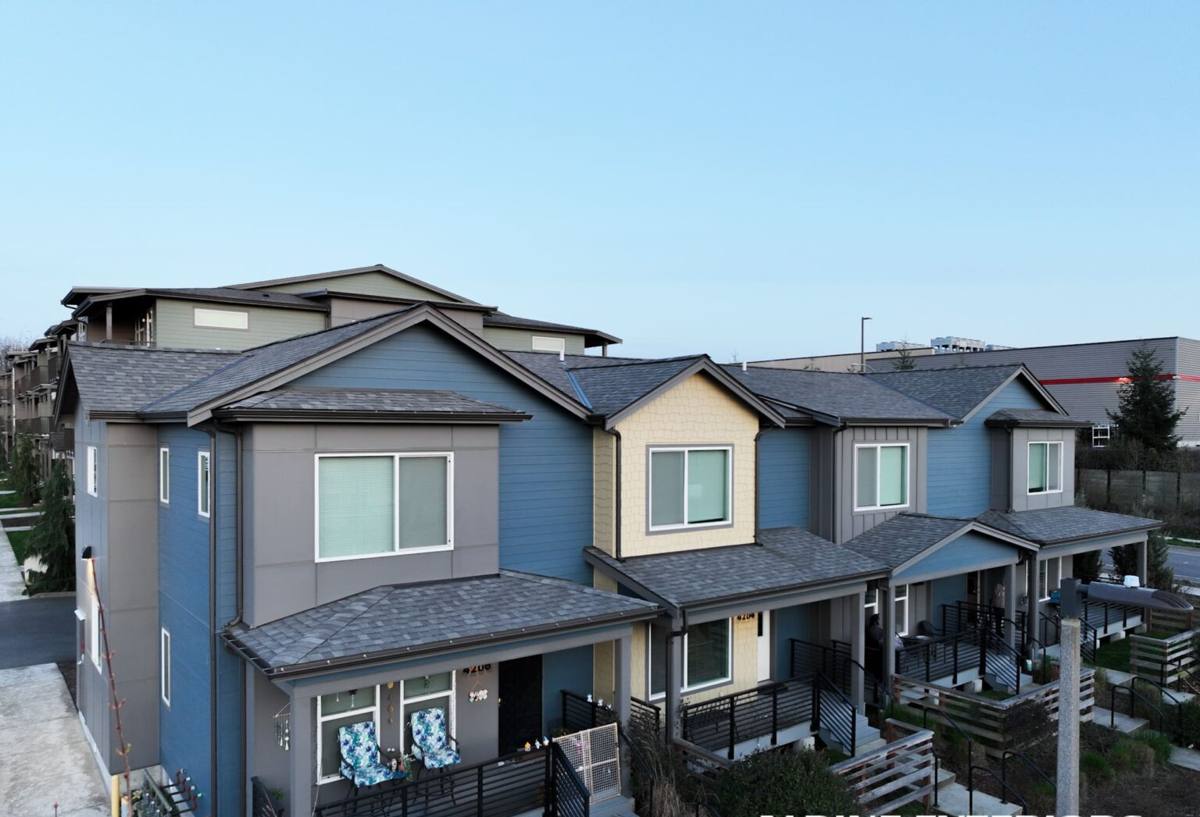
Why Lynden Siding Fails Faster Than the Brochure Says It Should
Every siding product has a rated lifespan on paper. In practice, Lynden's climate shortens that lifespan for certain materials and certain installation mistakes far more than manufacturers' marketing admits. A few things we see repeatedly:
Salt Air and Metal Fasteners
Homes closer to the bay deal with a slow, steady corrosive effect on exposed or improperly coated fasteners, flashing, and trim. It's not sudden — it's a fastener that was fine for a decade and then starts weeping rust streaks down the face of the siding, or a nail head that's corroded enough to lose its grip.
Driving Rain and Wind-Driven Moisture
Lynden gets rain that doesn't just fall straight down — wind pushes it sideways into lap joints, butt seams, and anywhere caulking has failed. Siding that was installed with tight, correctly-lapped joints sheds that water. Siding installed with reversed laps, insufficient overlap, or gaps at trim transitions lets water track behind the cladding, where it does damage nobody sees until the siding starts to bow, stain, or soften.
Moss and Sustained Dampness
Whatcom County's moss season is long, and moss doesn't just look bad — it holds moisture against the siding surface for extended periods, which accelerates whatever degradation is already happening underneath. Shaded walls, north-facing elevations, and areas under mature trees are where we find moss doing the most damage, especially on any siding material that wasn't engineered to shrug off constant moisture contact.
What "Correct" Siding Repair Actually Means
A lot of siding repair is treated as a cosmetic patch job — cut out the bad piece, nail in a new piece, caulk the edges, done. That approach papers over the problem instead of solving it. A correct repair does three things every time:
- Identifies why the damage happened in the first place — a flashing failure, a caulk joint that dried out, a fastener pattern that was wrong from the original install
- Checks the water resistive barrier and sheathing behind the failed siding for rot, soft spots, or trapped moisture before anything new goes back on
- Replaces or repairs the damaged section using a method and material that fixes the underlying cause, not just the symptom
Skip any of those three steps and the same spot fails again in a few years — sometimes worse, because now there's hidden water damage behind a fresh-looking patch.
Common Lynden Siding Problems We're Called Out For
| What You See | Likely Cause | What the Fix Requires |
|---|---|---|
| Dark staining or streaking at seams | Water tracking through failed caulk or a poor lap joint | Remove affected boards, inspect for rot, correct the lap, reseal properly |
| Soft, spongy, or bubbling siding | Moisture trapped behind the surface, often from a flashing gap | Cut back to sound material, repair flashing, replace with matched product |
| Rust streaks below fasteners | Corroded nail heads or non-coated fasteners in salt-air exposure | Remove and refasten with corrosion-resistant fasteners rated for coastal exposure |
| Persistent moss or algae growth | Shaded, damp wall with limited airflow or drainage | Clean surface correctly, address drainage/ventilation, treat the underlying moisture source |
| Cracked or split boards | Impact damage or a material not suited to freeze-thaw cycling | Replace the section with a climate-appropriate product, properly fastened |
| Gaps or warping at butt joints | Wood-based product swelling and shrinking with moisture cycles | Address moisture source, replace with a dimensionally stable material |
Our Siding Repair Process for Lynden Homes
1. On-Site Inspection
We walk the exterior, not just the spot you called about. Damage in one area is often a signal something similar is developing elsewhere on the same elevation, especially on walls that face prevailing weather or sit in shade for most of the day.
2. Diagnose Before We Touch Anything
We look past the visible damage to figure out the cause — a flashing detail, a caulk failure, a drainage issue, or a material that was never right for this climate to begin with. Repairing the symptom without fixing the cause is how the same spot fails again in a few years.
3. Open It Up and Check the Sheathing
Any time we remove damaged siding, we check what's behind it. If there's rot or soaked sheathing, that gets addressed before new siding goes back on — patching over a wet wall just hides the problem for a while longer.
4. Repair or Replace With Matched Material
Where the surrounding siding is sound, we repair the affected section with matched material and correct technique — proper lap, proper fastening, proper sealant at transitions. Where the damage points to a larger material or installation problem, we'll tell you honestly whether a broader repair or a full re-side makes more sense.
5. Weatherproof the Repair
Every repair gets sealed and flashed the way it should have been the first time, so the fix holds up through the next several moss seasons and rainy winters, not just until the next inspection.
Repair or Replace? A Practical Way to Decide
Not every siding problem in Lynden needs a full re-side, and not every problem should be patched. Here's a simple way to think about it:
- Isolated damage on one or two boards, sound siding everywhere else — repair makes sense
- Damage clustered on one elevation with signs of a systemic flashing or drainage issue — repair that elevation properly, monitor the rest
- Widespread rot, warping, or moisture damage across multiple walls — repair is a temporary patch; replacement is the honest recommendation
- Siding is a wood-based or moisture-sensitive product nearing the end of its practical life — repairing it delays an expense you'll face again soon
- You're planning to sell or refinance within a few years — a documented, properly matched repair is often the right call over a full replacement
We'll give you a straight answer on which category your home falls into. There's no benefit to us in overselling a full replacement when a repair will genuinely hold, and no benefit to you in patching a wall that's going to keep failing.
Why We Only Repair and Rebuild With James Hardie Fiber Cement
When a repair involves replacing a section of siding, the material we use matters as much as the workmanship. We install and repair with James Hardie fiber cement exclusively — we don't work with vinyl, LP SmartSide, Cemplank, Allura, primed spruce, or cedar. That's a deliberate standard, not a lack of options.
Fiber cement is non-combustible and dimensionally stable, meaning it doesn't swell, crack, or cup the way wood-based products can when they cycle through Lynden's wet winters and dry summers season after season. Hardie's ColorPlus factory finish is baked on and backed by a real finish warranty, which matters for repairs specifically — a patched section finished on-site with field-applied paint rarely matches as well or holds color as long as a factory finish. Hardie's HZ5 product line is engineered for the kind of moisture and climate exposure that's normal, not exceptional, in this part of Washington.
Practically, this means when we repair a wall, we're not introducing a different material with different moisture behavior into an existing Hardie installation, or replacing a failed wood-based product with more of the same thing that failed. If your home isn't currently sided in Hardie, we'll talk honestly about what a proper repair versus a longer-term material transition looks like.
What a Fair Repair Estimate Looks Like
| Factor | Why It Affects the Estimate |
|---|---|
| Extent of visible damage | One board versus a full elevation changes labor and material scope significantly |
| Condition behind the siding | Sound sheathing versus rot found during removal changes the scope once we're inside the wall |
| Access and elevation height | Second-story or hard-to-reach walls take more time and equipment |
| Color and material match | Matching existing ColorPlus finish or discontinued colors can affect material sourcing |
| Underlying cause | A flashing or drainage fix alongside the siding repair adds scope but prevents repeat failure |
We give a written estimate after the inspection, not a phone-quote guess. If we find something worse once a section is opened up — which happens with hidden moisture damage — we'll show you what we found and explain the cost before doing any additional work, not after.
Why Hiring a Crew That Already Works Lynden Matters
Siding repair done by someone unfamiliar with this specific climate tends to under-diagnose the cause. A crew that doesn't regularly work Whatcom County might patch visible rot without checking for the salt-air fastener corrosion nearby, or reseal a joint without addressing the moss and drainage pattern that caused the failure in the first place. We work Bellingham and the surrounding communities, including Lynden, regularly enough to recognize these patterns quickly instead of treating each job as a first encounter with local conditions.
That familiarity also means a faster, more accurate inspection. We're not guessing at what "normal wear" looks like for this area versus what's an actual problem — we've seen enough Lynden homes to know the difference on sight, which saves time and keeps the estimate honest.
Maintaining Siding After a Repair
A good repair holds up longer with basic upkeep. A few things worth doing on any Lynden home, repaired or not:
- Rinse siding annually to clear pollen, salt residue, and organic buildup before it turns into sustained moss growth
- Keep gutters clear so overflow doesn't run down the siding face repeatedly
- Trim back vegetation and tree cover that keeps a wall shaded and damp longer than necessary
- Walk the exterior once or twice a year and look at caulk joints, trim transitions, and any area that stayed damp after the last hard rain
- Address small caulk failures or hairline issues promptly — they're inexpensive to fix early and expensive to ignore
If you've noticed staining, soft spots, cracked boards, or persistent moss on your Lynden home's siding, it's worth having it looked at before the next wet season. We offer a free, no-pressure estimate — walk the property with us, get a straight answer on what's actually going on, and decide from there.